Before The Renovation: Packing Up Your Home With Ease
One day you look at your calendar and realize that—OMG, your renovation project is coming up right around the corner. And you need to start packing now before your renovation team can begin! If you feel a case of the packing panics setting in, take a deep breath. I’m breaking down my packing process and sharing tips to help you successfully prepare your home for a renovation project with ease.
Collect packing materials
You will need boxes or bins to pack your items for storage during your renovation project. Before you run down to your local moving supply store, connect with friends, neighbors, or your local Facebook group to ask if anyone has boxes or bins they no longer need. Not only is that a sustainable solution, but you might score some free packing supplies too!
Let go of what you no longer need
This is a great time to take inventory of what you have and let a few things go that you no longer need. If you are on the fence about keeping certain items, corral them all together in a box and label it as your “maybe box.” When you are unpacking post-renovation, unpack this box last. Do you really need the “maybe” items in your brand-new space, or is another trip to the donation center in order?
If you’re ready to make a donation, it’s possible that there’s a local donation center in your community—that’s always a wonderful choice! Goodwill, The Salvation Army, and Habitat for Humanity are also excellent choices and may be available near you (and they offer pick-up services as well)! These organizations accept everything from furniture, to clothing, to kitchen appliances, and more. I’ve linked each one so you can see the full list of what they accept and determine what’s right for you.
Pro Tip: While some donation centers accept large furniture, many do not. Check with the center before arranging to drop off the sofa or chair that you no longer need. Don’t forget to save your receipts for tax season!
Find a storage solution
If you are lucky, you have plenty of space in your attic, basement, or garage to store all of the items that need to be tucked away during your renovation. However, not all of us have the extra space! I recommend looking into moving pods as a potential storage solution. These pods work well and are available in different sizes. In the Seattle area, the average cost for a medium-sized moving pod stored at a local PODS facility for a six-month duration is about $1700.
Pack with intention
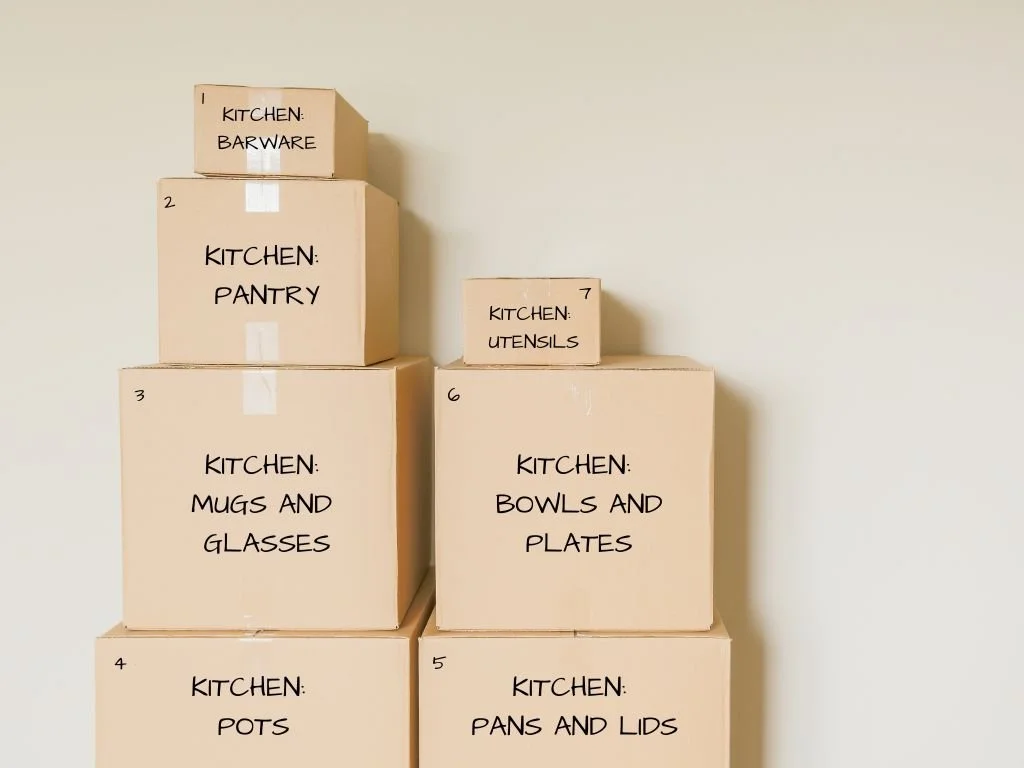
Packing with intention means easier unpacking when it is time to move back in. Go room by room and group items by type. Label each box clearly by giving it a number and room name. Take it a step further and get specific with location details such as “Kitchen: Pantry.”
Pro Tip: Snap a photo of the contents of each box and create a photo inventory. You never know when you will need the corkscrew that you didn’t mean to pack. A photo inventory offers a speedy way to locate items.
Create an inventory spreadsheet
If you have ever worked with me, you know that I am a huge fan of spreadsheets. Spreadsheets are my key to staying organized! As you are filling and labeling boxes, I highly recommend adding each to a spreadsheet. Include basic information such as the box number, room name, and location within the room. For an added organization factor, list out the general contents of the box. Creating this organized system is going to make your unpacking so much easier. Trust me!
Cover your furniture
If you have furniture that is staying in the house and it is near the rooms that are being renovated, I recommend taking time to cover the pieces. Renovation work is a dirty business, and even the tidiest job sites will experience dust floating into unwanted places.
If you are moving your furniture to the center of the room to accommodate painters working around it, consider how you are stacking up those pieces. Using blankets or padding to protect your furniture is a must to eliminate scratches and nicks later. Your contractor might be willing to move your furniture or items out of the way to complete the work but remember they are not professional movers. It is a good idea to hire movers if you need a hand moving large items and all of the boxes you have carefully packed up!
Take it one day at a time
Hosting a renovation project in your home is a big decision—so give yourself some grace as you navigate this journey! Following my tips for successfully preparing your home for a renovation project will help take some of the stress out of your experience. But even the best-planned renovation projects can throw a curveball or two your way. Just know that the chaos will pass, and the end result will be a dream home that you’ll enjoy for years to come (and in the meantime, it doesn’t hurt to know which box holds the wine glasses and your favorite pair of sweatpants)!


